
(other images)
| |
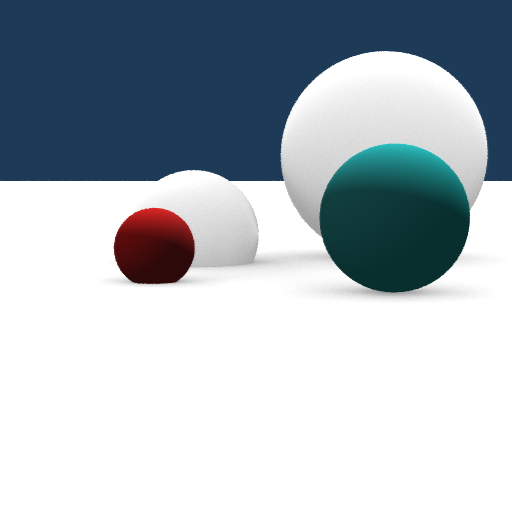
The was the first image produced
by my ray tracer. At this point I think the software consisted of two
nested for loops and an if statement. (other images) |
 |
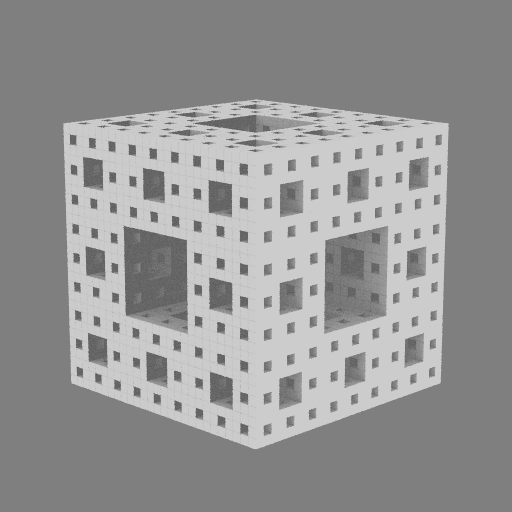
Project 2 was a little more
interesting. I added a ambient occlusion effect. (other images) |
 |
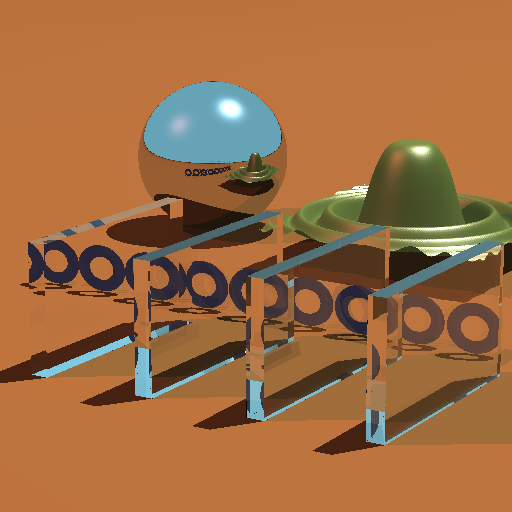
In project 3 I added a few more
primitives. (other images) |
 |
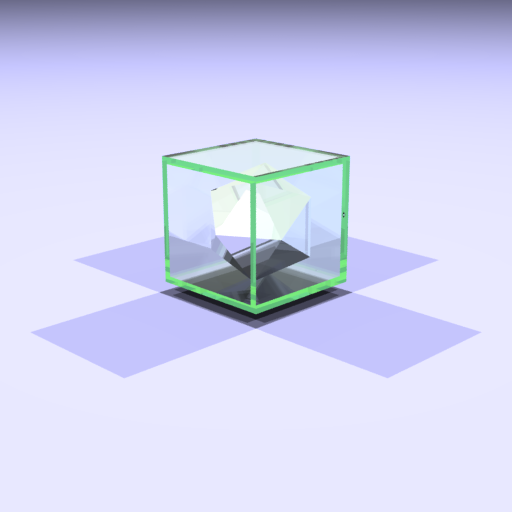
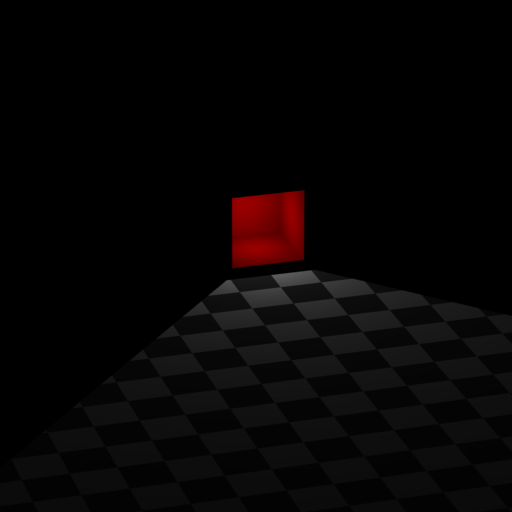
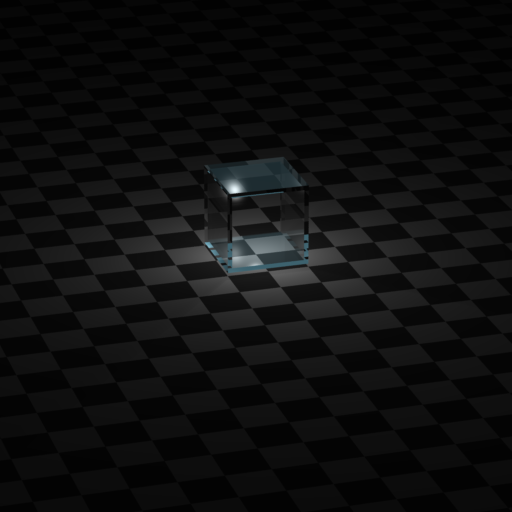
In project 4 I implemented my
first dielectric material. This would become one of my favorite
materials. (other images) |
 |
The topic of project 5 was
sampling. (other images) |
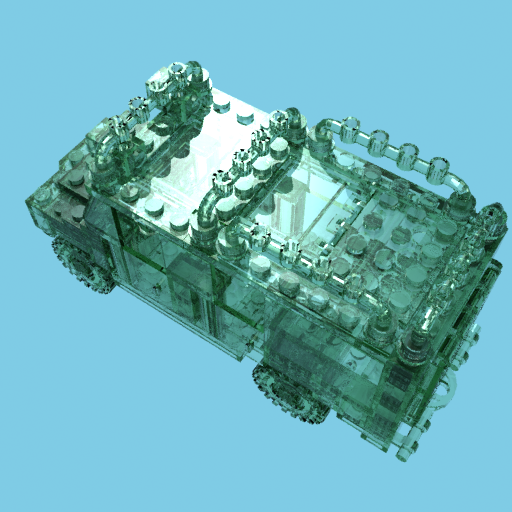 |
In this project I imlemented a
BVH and grid acceleration structure for both particle and mesh data. I
also wrote a more robust model import tool and attempted to move a
model of a toy truck into my raytracer. Unfortunately the model's faces
were not ordered correctly and the submeshes of the model were not all
closed and connected surfaces. I modified a path tracer to guess which
faces in the model were front and back facing, and then reordered the
back facing ones. (other images) |
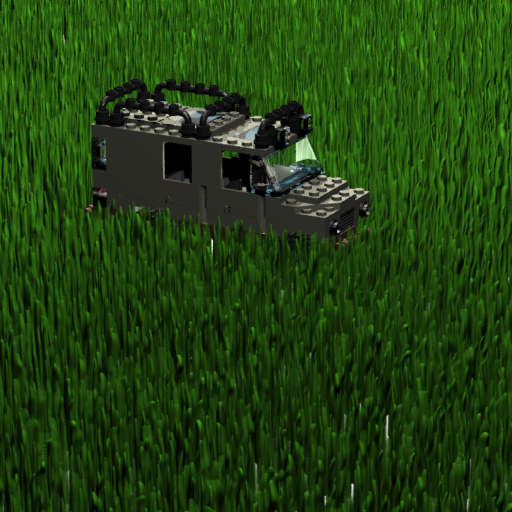 |
In project 7 I implemented a
Perlin hair effect and used it to place my truck in a grassy field. The
Perlin effect is volume renderered, the volume renderer can perform
lighting and allows other objects including dielectrics to penetrate
the volume. The truck model in this image is still very primitive, the dielectrics don't cast attenuated shadows, so the headlights and interior of the vehicle are in shadow. (other images) |
 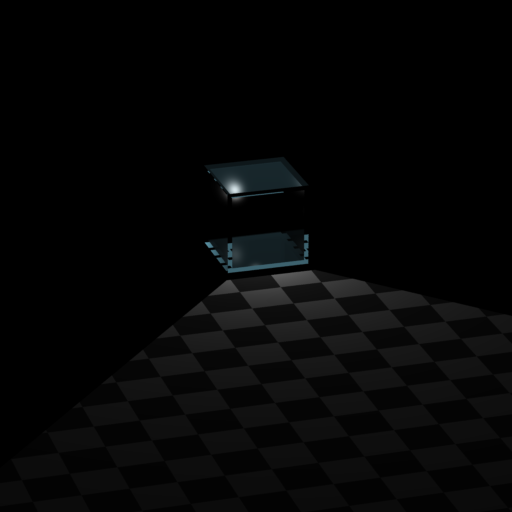  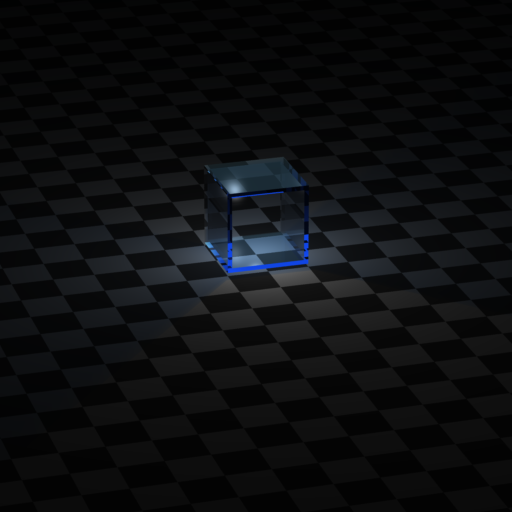 |
The topic of this
project was volume rendering (images of that here), since I already had a volume
renderer, I decided to correct my dielectric shadow problem. (other images) |
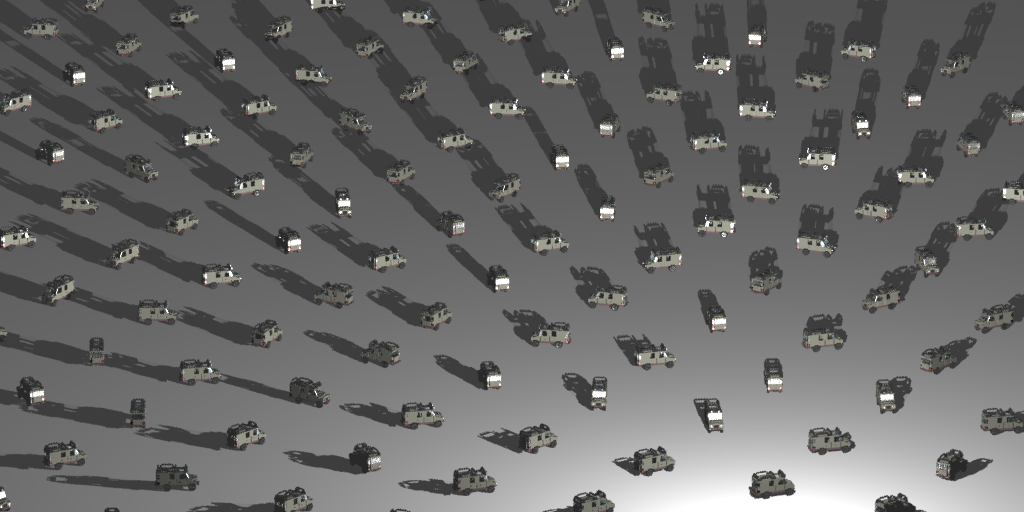 |
In project 9 I instanced a large
number of trucks. (other images) |
 |
Project 10. Thin lens camera
model and soft shadows (and more trucks). (other images) |
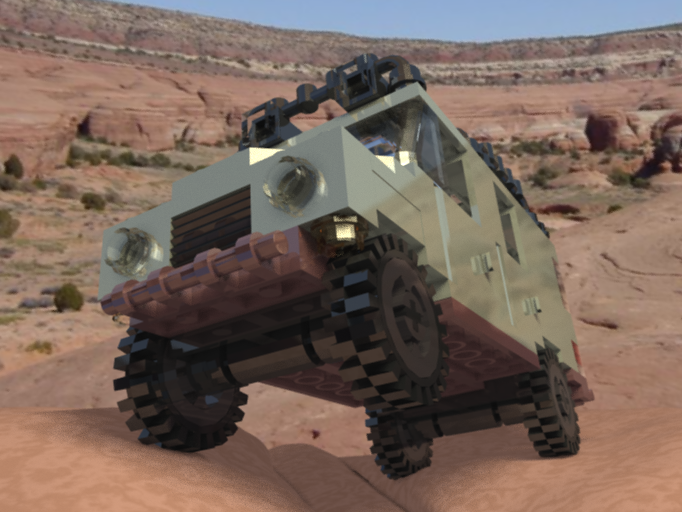 |
Final image: my favorite model
goes to Moab. (final images) |